React Native を使えば iOS/Android アプリ を1つのコードベースで開発可能!ここでは Mac/Windows 両方に対応したセットアップ方法と、エミュレーターでリアルタイム確認する手順を詳しく解説します。
💻 Step 1:必要なツールのインストール
✅ Mac
- Homebrew のインストール
/bin/bash -c "$(curl -fsSL https://raw.githubusercontent.com/Homebrew/install/HEAD/install.sh)" - Node.js と npm のインストール
brew install node - Watchman のインストール(パフォーマンス向上)
brew install watchman - Xcode のインストール
- App Store から Xcode をインストール
- Xcode を開き、Command Line Tools を設定
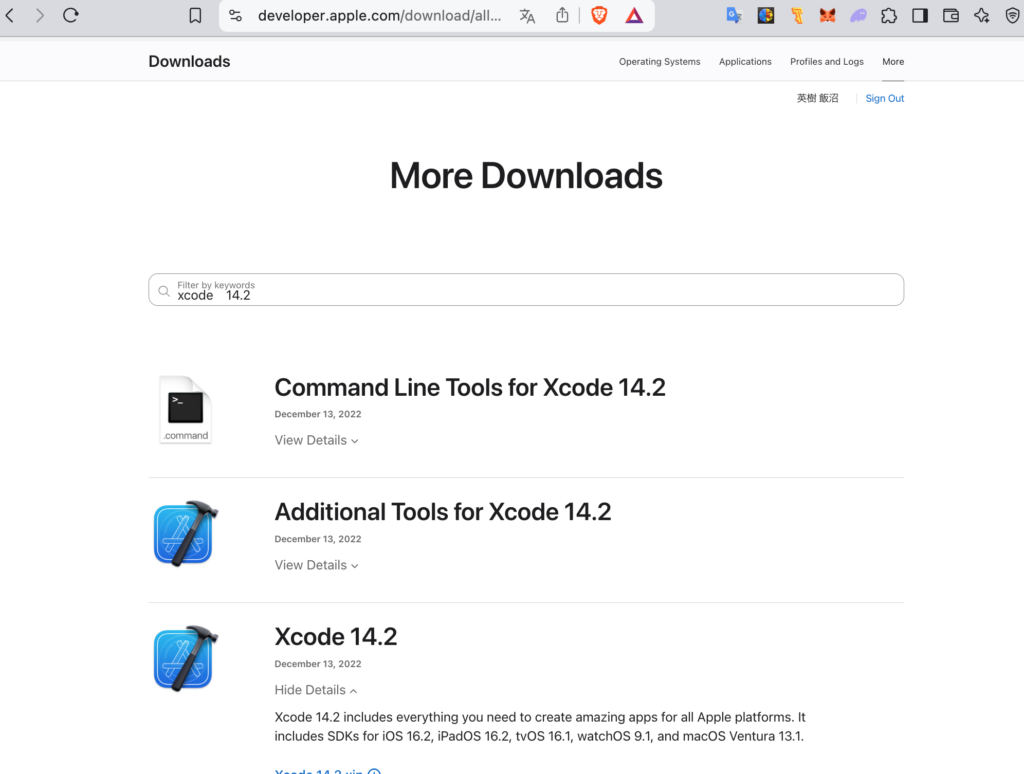
Xcode のインストール
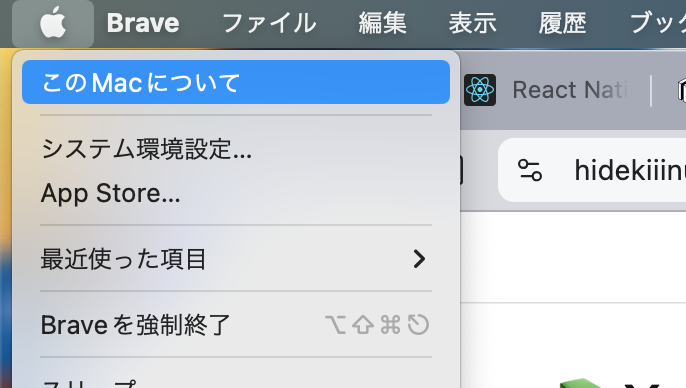
- マックのヴァーションの確認方法
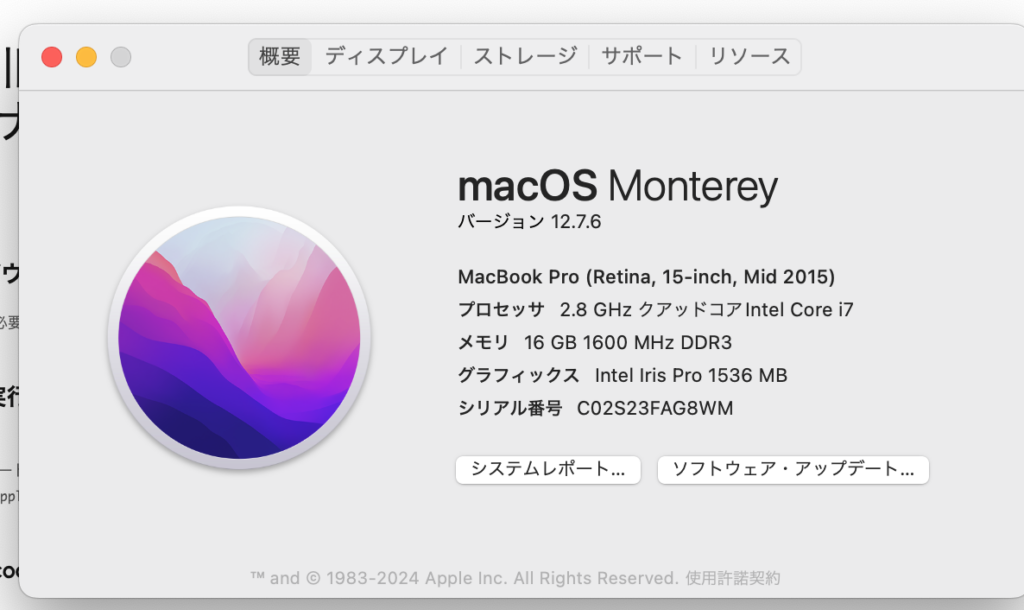
自分のマックに合わせてこちらからダウンロードします
Step 2:React Native CLI のセットアップ
ターミナルを開きます。以下のコードをコピペします
npm install -g react-native-cli
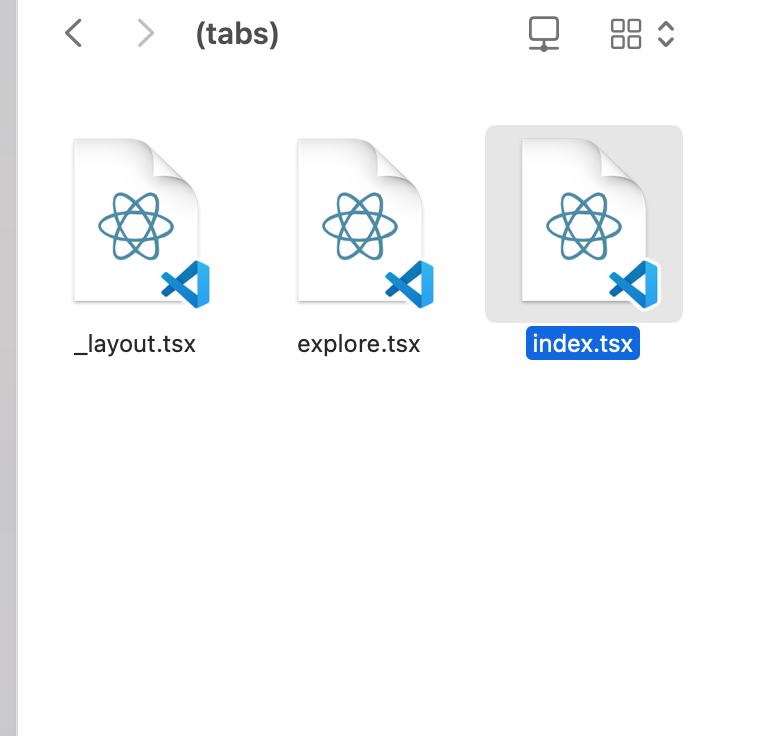
Finder を開いて 新しく自動で作成されたファイルからindex.tsx を探して vs code で開きます
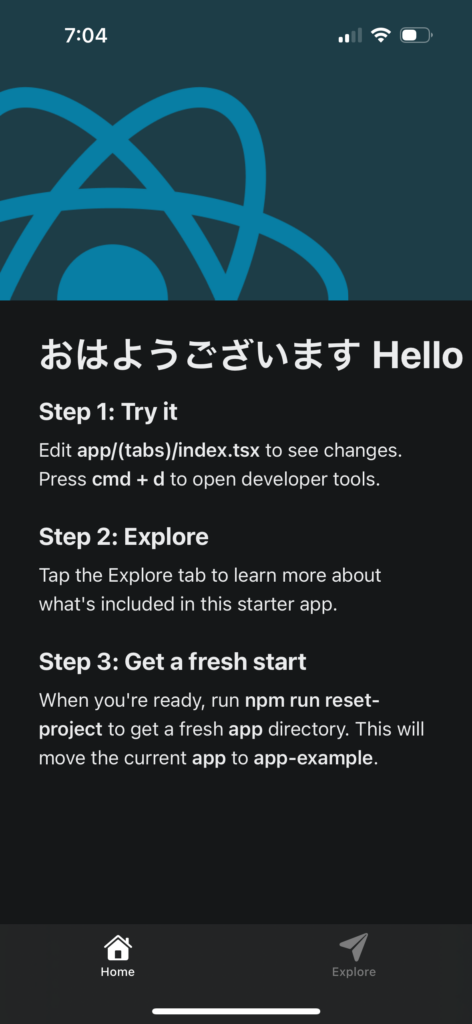
Step 3:「おはようございます」の表示
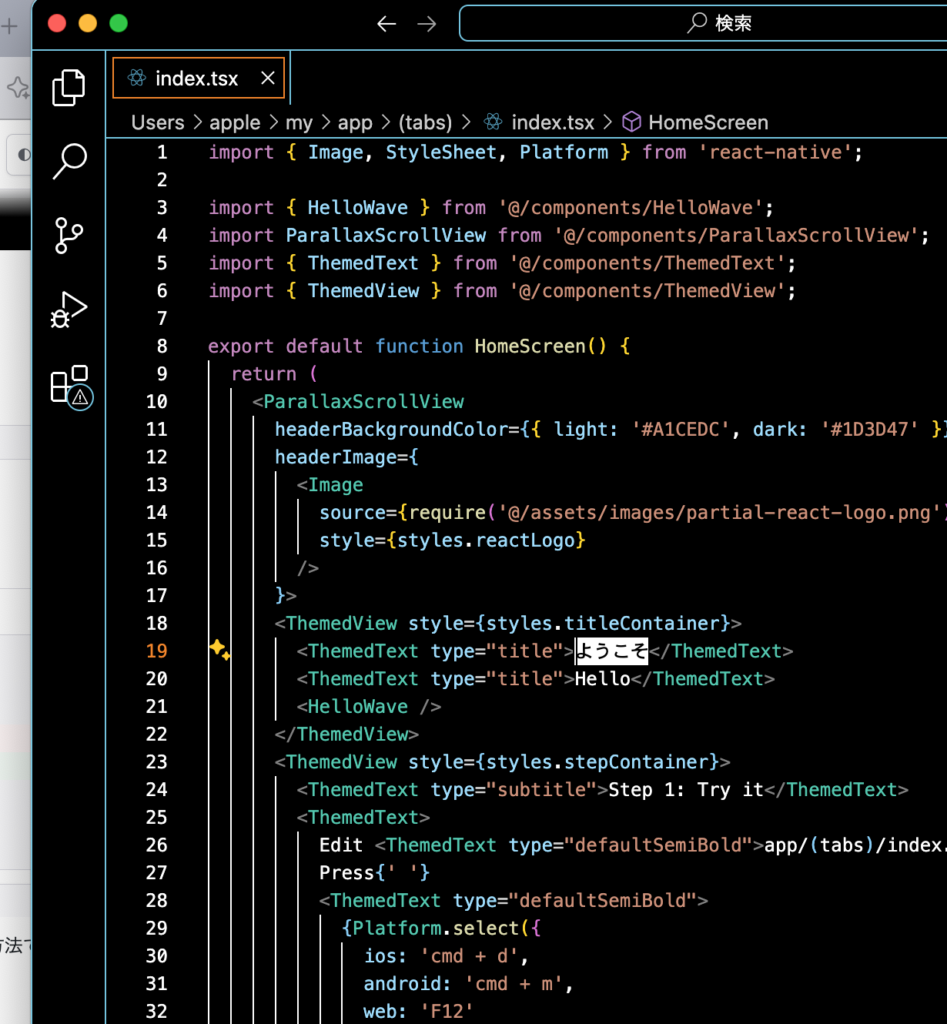
index.tsx を開く
コードの書き換えを間違えてしまったら以下のコードをコピペで貼り付けてみてください。
import { Image, StyleSheet, Platform } from 'react-native';

import { HelloWave } from '@/components/HelloWave';
import ParallaxScrollView from '@/components/ParallaxScrollView';
import { ThemedText } from '@/components/ThemedText';
import { ThemedView } from '@/components/ThemedView';

export default function HomeScreen() {
  return (
    <ParallaxScrollView
      headerBackgroundColor={{ light: '#A1CEDC', dark: '#1D3D47' }}
      headerImage={
        <Image
          source={require('@/assets/images/partial-react-logo.png')}
          style={styles.reactLogo}
        />
      }>
      <ThemedView style={styles.titleContainer}>
        <ThemedText type="title">おはようございます</ThemedText>
        <ThemedText type="title">Hello</ThemedText>
        <HelloWave />
      </ThemedView>
      <ThemedView style={styles.stepContainer}>
        <ThemedText type="subtitle">Step 1: Try it</ThemedText>
        <ThemedText>
          Edit <ThemedText type="defaultSemiBold">app/(tabs)/index.tsx</ThemedText> to see changes.
          Press{' '}
          <ThemedText type="defaultSemiBold">
            {Platform.select({
              ios: 'cmd + d',
              android: 'cmd + m',
              web: 'F12'
            })}
          </ThemedText>{' '}
          to open developer tools.
        </ThemedText>
      </ThemedView>
      <ThemedView style={styles.stepContainer}>
        <ThemedText type="subtitle">Step 2: Explore</ThemedText>
        <ThemedText>
          Tap the Explore tab to learn more about what's included in this starter app.
        </ThemedText>
      </ThemedView>
      <ThemedView style={styles.stepContainer}>
        <ThemedText type="subtitle">Step 3: Get a fresh start</ThemedText>
        <ThemedText>
          When you're ready, run{' '}
          <ThemedText type="defaultSemiBold">npm run reset-project</ThemedText> to get a fresh{' '}
          <ThemedText type="defaultSemiBold">app</ThemedText> directory. This will move the current{' '}
          <ThemedText type="defaultSemiBold">app</ThemedText> to{' '}
          <ThemedText type="defaultSemiBold">app-example</ThemedText>.
        </ThemedText>
      </ThemedView>
    </ParallaxScrollView>
  );
}

const styles = StyleSheet.create({
  titleContainer: {
    flexDirection: 'row',
    alignItems: 'center',
    gap: 8,
  },
  stepContainer: {
    gap: 8,
    marginBottom: 8,
  },
  reactLogo: {
    height: 178,
    width: 290,
    bottom: 0,
    left: 0,
    position: 'absolute',
  },
});
📱 ホットリロードで即時反映

⌘ +S で保存するとiphone側で表示されます
🎯 まとめ
React Native なら 1つのコード でマルチプラットフォーム対応!この手順で エミュレーター を活用して効率よく開発を進めましょう! 🚀
xcodeをダウンロードして解凍するとiphoneでも表示されます
npm install -g react-native-cli
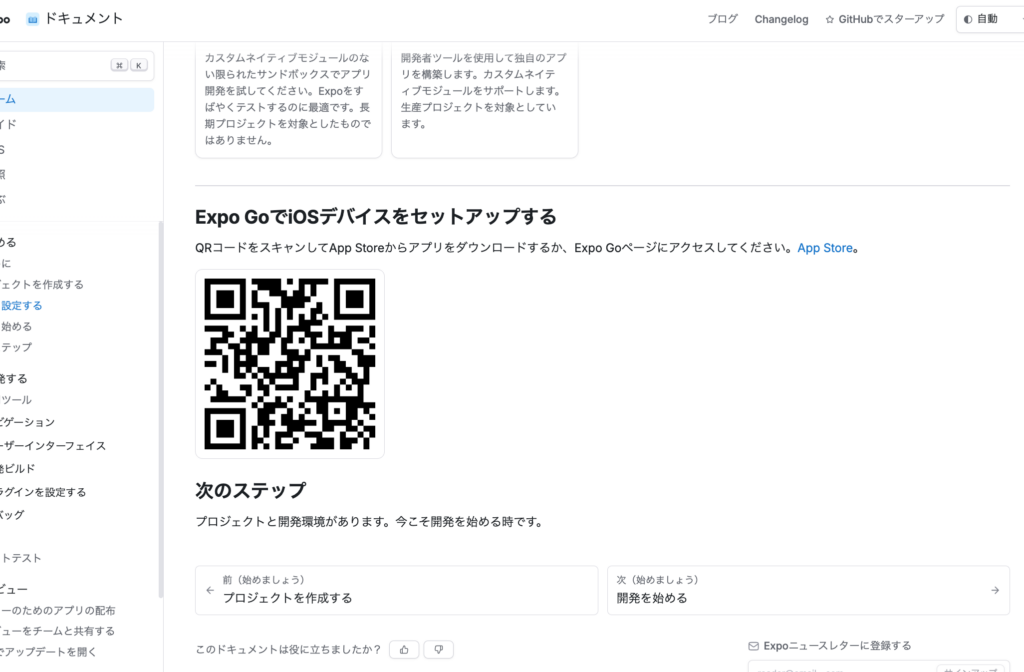
これをターミナルで実行するとQRコードがターミナル内に表示されるので携帯の写真で読み取ります
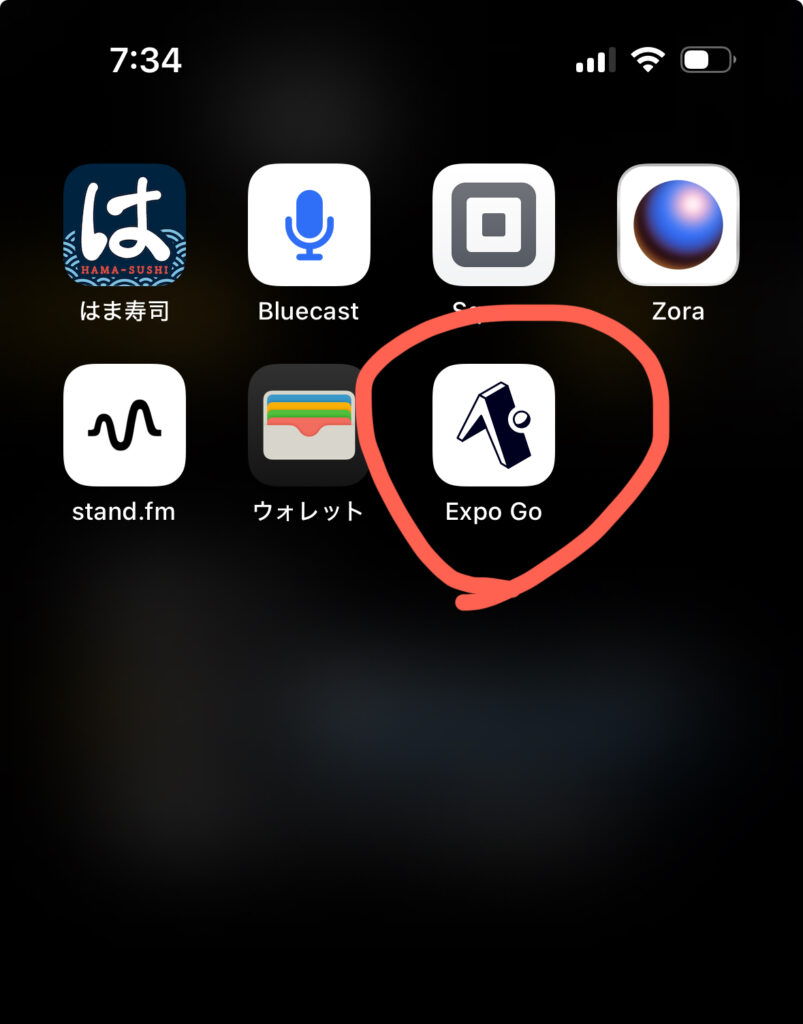
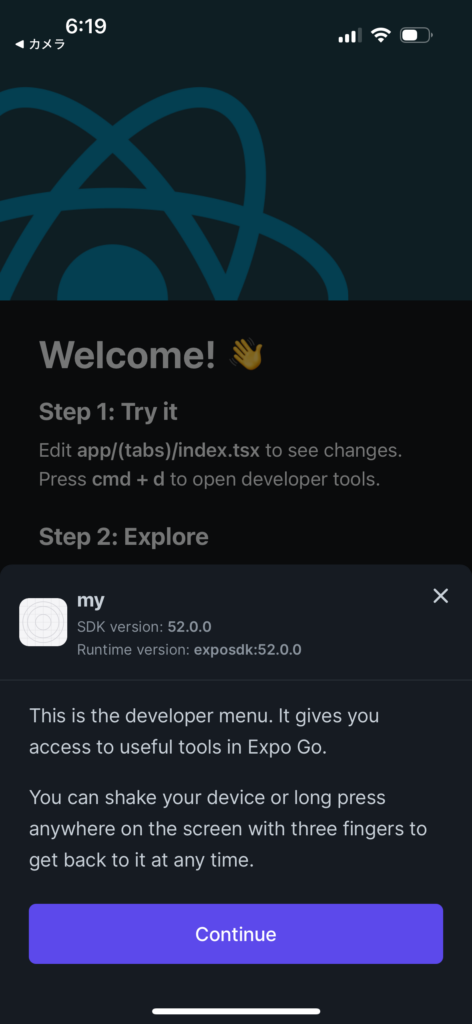
前準備として携帯にこのQRコードから EXPO GO をダウンロードしておきます
そうすると
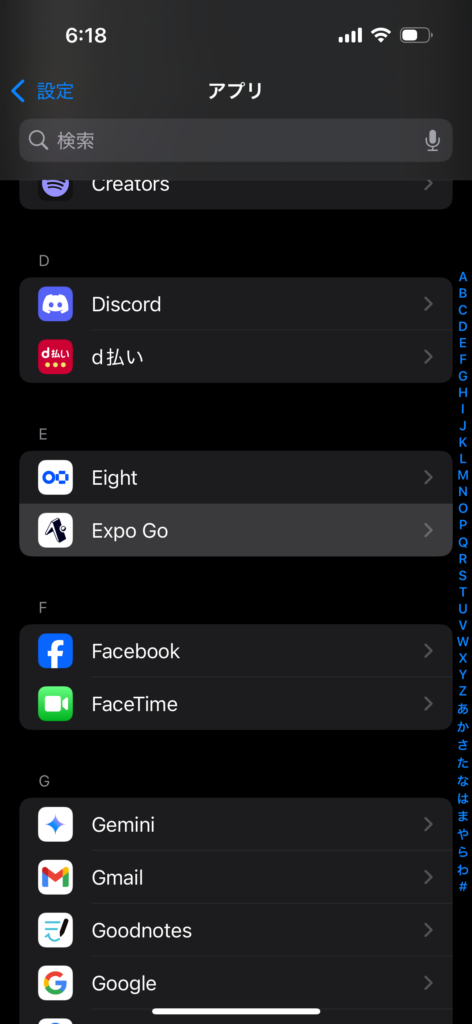
これがアプリに入った状態
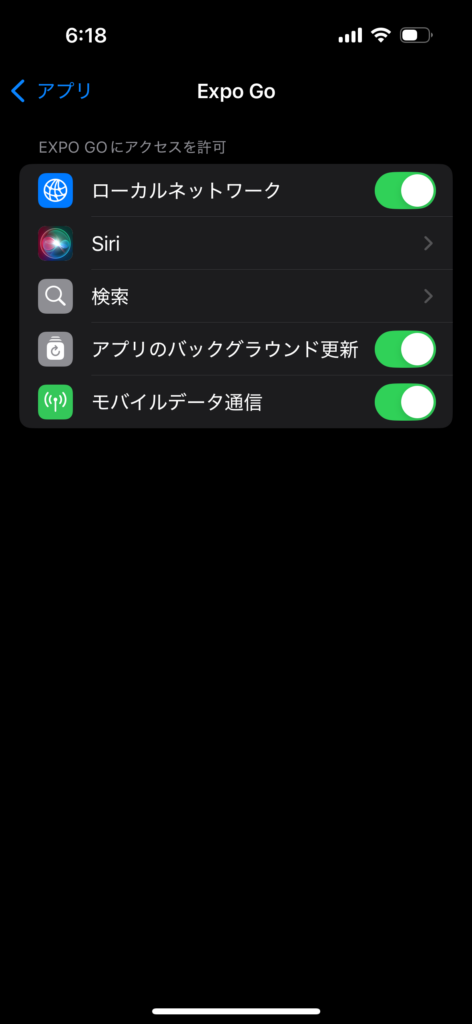
ローカルネットワークへのアクセスを許可しておきます(マックブックと携帯をWIFIでつなくため)
Leave a Reply
You must be logged in to post a comment.